How to Create App for Your Business: A Proven Guide
Learn how to create an app for your business with our comprehensive guide. Discover key steps from planning to launch and boost your success.

Building a business app comes down to a few key stages: you start with a solid plan, create an intuitive design, build it with the right tech, test it relentlessly, and then launch. But if there’s one part you absolutely cannot afford to skimp on, it’s that initial planning. This is where you lay the foundation for an app that actually solves real-world problems and hits your business targets.
Why a Solid Plan Is Your Most Important First Step
Before you even think about writing a single line of code, the success of your app is pretty much decided by how clear your vision is and how much homework you've done. This early stage isn’t just about having a cool idea; it’s about turning that idea into a detailed blueprint that will guide every single decision from here on out.
Jumping straight into development without a plan is one of the most common—and costly—mistakes I see. It’s a fast track to wasted money, blown deadlines, and, worst of all, an app that nobody actually uses. Taking the time to really dig into research, strategy, and planning upfront gives you a clear roadmap that connects your business goals with what your users genuinely need.
Think of the process as a logical flow, where each step builds on the last.
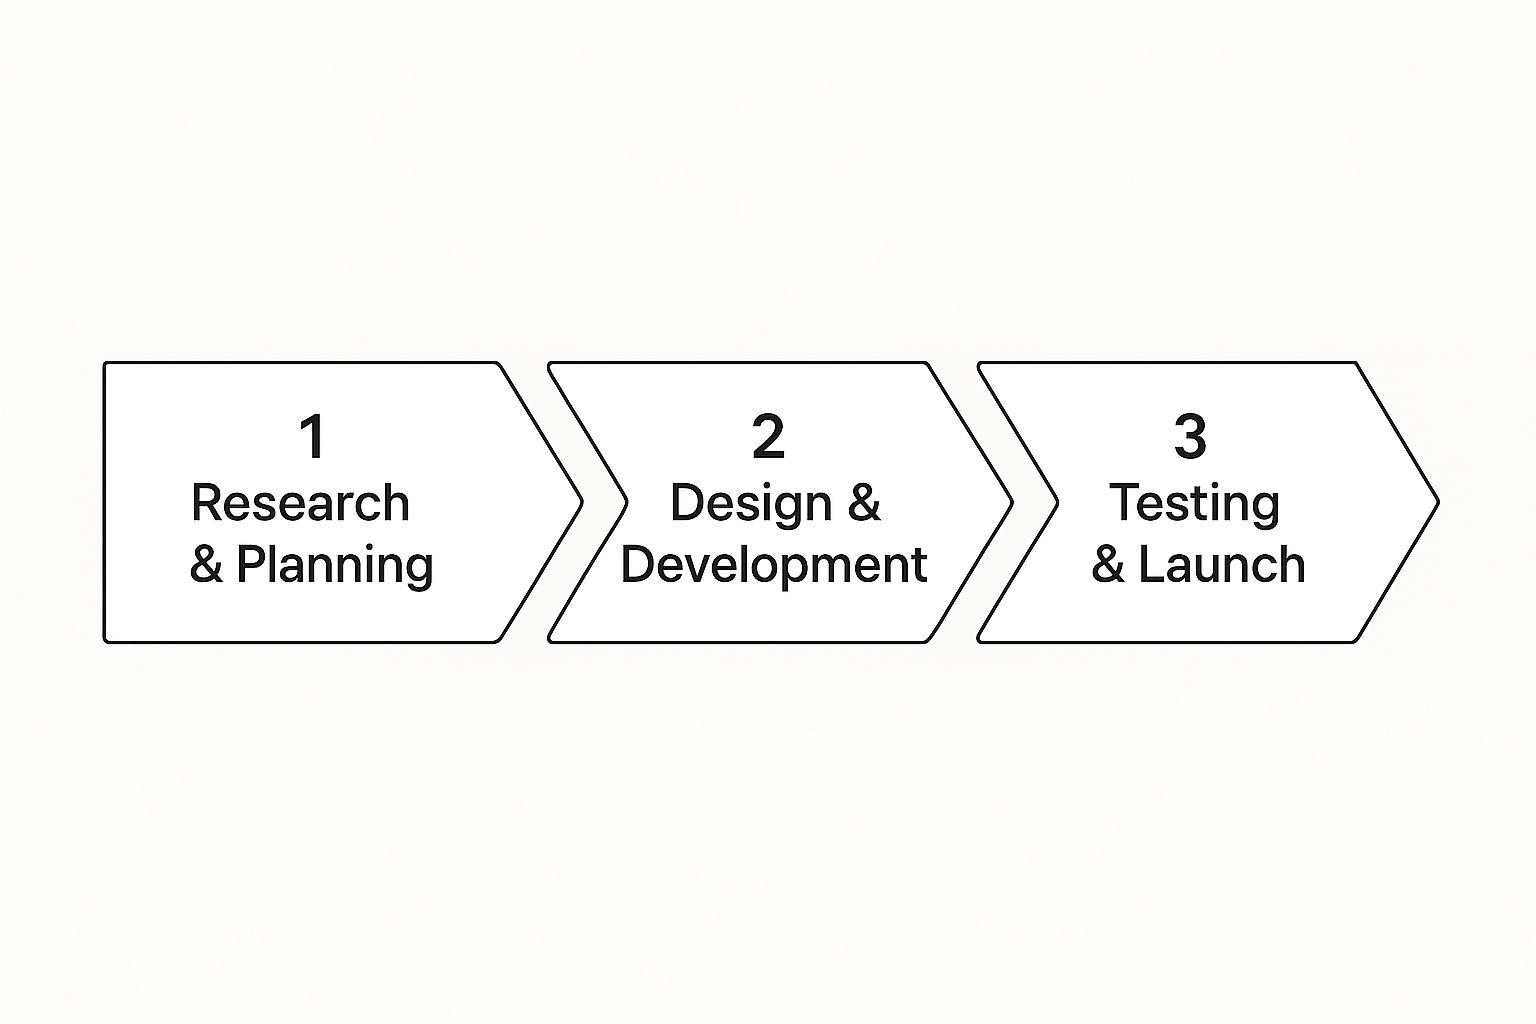
This really drives home the point that design and development are the result of good research, and a successful launch is only possible after thorough testing.
Defining Your App's Core Purpose
Every great app starts by solving a specific problem for a specific group of people. Your first job is to get past a vague idea and nail down the exact value your app will deliver. You need to ask yourself some tough questions:
- What specific frustration will this app remove for my customers?
- Which business process will it make more efficient?
- How, exactly, will it make their lives better or easier?
Let’s take a local coffee shop as an example. A fuzzy goal like "increase sales" isn't helpful. A specific, actionable goal is much better: "build an app that lets customers pre-order coffee to cut down wait times and includes a digital loyalty program to keep them coming back." That single sentence immediately defines the core features you need for your first version, or Minimum Viable Product (MVP).
An app without a clear problem to solve is just a solution looking for an issue. Nailing down the "why" before the "what" ensures you're building something people actually need, not just something you think is cool.
This sharp focus is non-negotiable in today's crowded market. The app world is huge, with global downloads hitting 218 billion recently. And with about 98% of apps being free, revenue almost always comes from in-app experiences, not the initial download. This means delivering real value is more critical than ever.
Conducting Realistic Market Research
Once you know why your app needs to exist, it's time to understand the world it's about to enter. This means digging into your competitors and, more importantly, your target audience. This doesn't have to be a formal, expensive study; it's about practical, hands-on investigation.
First, figure out who your direct and indirect competitors are. Download their apps. Use them. What do they get right? Where do user reviews highlight common complaints or missing features? Those gaps are pure gold—they're your opportunities to do better.
At the same time, you have to get inside the heads of your potential users. A crucial part of this is doing proper product market fit validation. This often involves creating user personas, which are essentially fictional profiles of your ideal customers. Give them names, jobs, goals, and pain points. For our coffee shop app, a persona might be "Commuter Chloe," a 28-year-old marketing manager who's always rushing in the morning and values anything that saves her time. Thinking about Chloe helps you make design and feature choices from a real user's perspective, which is the secret to building an app that feels genuinely helpful.
Designing an App People Will Actually Use
Let's be honest: a great app idea is worthless without a design that makes sense to people. An app's design isn't just about picking nice colors and fonts; it's the entire experience a person has from the moment they open it. If your app feels intuitive and easy, they'll stick around. If it's confusing, they're gone.

Good design isn't about guesswork. It’s a deliberate process that starts with the bare-bones skeleton of your app and slowly layers on the visual details and interactive elements. The goal is simple: create a clear path for users to get what they want without hitting roadblocks.
From Simple Sketches to Interactive Prototypes
Before you start agonizing over the perfect shade of blue, you need to map out the app's structure. This is where wireframing comes into play. A wireframe is a simple, black-and-white layout of each screen, stripped of all visual design. Its only job is to define functionality and user flow.
Think of it as the architectural blueprint for your app. It dictates where buttons go, how information is laid out, and how someone moves from screen A to screen B. The magic of wireframing is in its simplicity. You can quickly sketch out ideas on a notepad or use a digital tool to drag and drop elements, testing different layouts without committing to a full-blown design.
Once the wireframes feel right, it’s time to build an interactive prototype. Using a tool like Figma or Adobe XD, you can connect those static screens to create a clickable model of your app. This is an absolute game-changer. It lets you and your team actually feel how the app works long before a single line of code gets written.
Getting this prototype in front of real users is where the gold is. You can watch them tap through it, see where they get stuck, and identify confusing navigation. Making a change at this stage is a matter of minutes. Making that same change after the app is built can take days and cost a fortune.
Mastering the Fundamentals of UI and UX Design
With a solid user flow confirmed by your prototype, you can finally start thinking about the visual layer (User Interface or UI) and the overall feeling (User Experience or UX). While they’re often lumped together, they serve different functions.
- UI Design is what you see. It’s all the tangible stuff—the buttons, the icons, the spacing, and the colors.
- UX Design is what you feel. It’s the entire journey, focused on making the interaction smooth, logical, and even enjoyable.
A beautiful app that’s impossible to use is a failure. A functional app that looks terrible won’t inspire trust. You need both UI and UX working in harmony. If you really want to dig in, you can master user experience design fundamentals to make sure your app truly connects with its users.
Here are a few core principles I always come back to:
- Color Scheme: Pick a limited, intentional color palette that reflects your brand. Consistency is everything. A few well-chosen colors are far more effective than a chaotic mess.
- Typography: Readability is non-negotiable, especially on small screens. I usually stick to two fonts at most: one for headlines and one for body text. It keeps things clean.
- Navigation: Ever heard of the "three-click rule"? It’s a good benchmark. Users should be able to find what they need in three taps or less. Keep menus simple and where people expect them to be.
- Consistency: A button should look and act like a button on every single screen. When elements are consistent, users don't have to think. They just know how to use your app.
A huge mistake I see teams make is trying to cram every possible feature onto the screen. Here's a reality check: research shows a user decides if they like your app in just 500 milliseconds, often based on visual complexity. Simplicity isn't just a design trend; it's a requirement for a good first impression.
By focusing on a clean structure, testing your flow with prototypes, and sticking to solid UI/UX principles, you're not just building an app. You're creating an experience that people will actually want to use.
Choosing a Modern Tech Stack That Scales
Picking your tech stack is one of the most foundational decisions you'll make. It’s not just about what’s new and shiny; it’s about laying the right groundwork for your app's speed, its ability to grow with your business, and how much it will cost you down the road. This is your app's architectural blueprint.

This choice becomes even clearer when you look at the global app market. Regional trends can give you a serious edge. India, for instance, is on track to hit 78 billion downloads this year, mostly in fintech and gaming. Meanwhile, the U.S. market, at a still massive 38 billion downloads, is more focused on streaming and productivity tools. Knowing where your users are helps you choose tech that delivers the performance they've come to expect.
Why Next.js and Python-Django Are a Powerful Combination
So, where do you start? For a lot of modern business apps, pairing a Next.js frontend with a Python-Django backend is the perfect match. This combination is a real workhorse, robust enough for a simple customer portal but powerful enough to run a complex, data-heavy platform. Let's dig into why this duo works so well together.
Next.js, which is built on top of React, is obsessed with performance and a great user experience. Its killer feature is server-side rendering (SSR). Instead of sending a bunch of code to the user's browser and making it do all the work, SSR sends a fully-formed page from the server. The result? Pages load way faster, which is absolutely critical for keeping users from bouncing.
Building a Fast and SEO-Friendly Frontend with Next.js
When you build an app for your business, you need people to find it. Better performance and quicker load times are direct signals to search engines, helping you climb the rankings and attract customers without paying for every click. Next.js was built for this from day one.
Here’s why it’s such a smart move:
- Warp-Speed Performance: That initial page load is lightning fast, which means users stick around instead of getting frustrated and leaving.
- Built-in SEO: Search engine crawlers love fully-rendered HTML. Next.js serves it up on a silver platter, making your content much easier to index.
- Rendering Flexibility: It also offers Static Site Generation (SSG). This is perfect for content that doesn’t change much—think marketing pages or blog posts—making them feel instantaneous.
Next.js handles everything the user sees and interacts with, creating a snappy interface that just works, no matter the device. For businesses that need to get this right from the start, specialized Next.js development services can be a huge accelerator.
The Power of Django for a Secure and Scalable Backend
While Next.js is the star of the show out front, Django is the silent powerhouse running things behind the scenes. It's a high-level Python framework known for its pragmatic, clean design that lets developers build things quickly. Its "batteries-included" approach is a game-changer.
Django's built-in features—like its admin panel, user authentication system, and security protections—save hundreds of development hours. This allows your team to focus on building the unique features that deliver value to your customers, rather than reinventing the wheel.
Django gives you pre-built components for all the usual stuff, from user accounts to an admin interface, so you're not starting from scratch. It also comes with built-in protections against common threats like SQL injection and cross-site scripting (XSS), which is one less thing to worry about. As your user base grows and your data gets more complex, Django is more than capable of handling the load.
Getting into Development and Testing
This is where the rubber meets the road. All that planning, wireframing, and designing finally starts turning into a real, working application. It's time to translate those ideas into clean, functional code. While it might seem like a huge mountain to climb, breaking the development and testing journey down makes it completely manageable.
With your designs locked in, the first coding task is usually building the front-facing part of your app. This means bringing the user interface to life—making sure every button, form, and menu works just like you envisioned.
At the same time, work begins on the backend. Think of this as the engine room of your application. It’s what handles all the data, user logic, and communication behind the scenes, making everything the user sees on their screen possible.
Building the Core Application Components
The very first thing to do is set up your project environments. On the frontend, that means spinning up a new Next.js project. From there, you'll start turning your static Figma designs into interactive, reusable components—things like the main navigation bar, user profile cards, or product listings.
Over on the backend, you’ll be creating your Django project. This is where you define your database models, which are really just Python blueprints for your database tables (like users, orders, or products). Once the models are in place, you can build out the APIs (Application Programming Interfaces) that let the Next.js frontend securely talk to the Django backend.
Let’s go back to our coffee shop app. The Next.js frontend would have a component for the menu screen. When a user navigates to it, Next.js shoots an API request to the Django backend, asking for all the available coffees. Django grabs that data from the database, sends it back, and Next.js displays it beautifully on the user's screen.
Why You Can’t Afford to Skip Testing
Building new features is the fun part, but without serious testing, you're building on shaky ground. Testing isn't something you tack on at the end; it's a continuous process that ensures your app is reliable, secure, and ready for real users. It’s how you build something your customers can actually trust.
Skipping comprehensive testing is like building a car and only checking if the engine starts. You need to know if the brakes work, the steering is responsive, and the doors lock properly before you let anyone drive it.
A solid testing strategy saves you from the nightmare of releasing a buggy product, which can seriously damage your reputation and lead to expensive fixes later. It's a direct investment in quality that pays for itself many times over. To really get a handle on this, exploring different software quality assurance processes can give you some great frameworks to follow.
You need several layers of testing, since each one serves a very different purpose.
Implementing Different Levels of Testing
To catch issues from every possible angle, your workflow needs a healthy mix of automated and manual tests. Each type focuses on a different slice of the application, from the tiniest piece of code to the full user journey. This layered approach is hands-down the most effective way to build a solid app.
Here are the key testing types you should be running:
-
Unit Tests: These are small, fast tests that check individual "units" of code in isolation. For example, you’d write a unit test to make sure a function that calculates sales tax always returns the correct value. They help developers catch bugs almost immediately.
-
Integration Tests: While unit tests check pieces in a vacuum, integration tests make sure different parts of your app play nicely together. This could mean testing the entire user signup flow—from the Next.js form submission, to the Django API call, to the new entry in the database, and the success message sent back to the user.
-
End-to-End (E2E) Tests: These tests simulate a real user's workflow from beginning to end. An automated script might act like a customer logging in, adding a few items to their cart, and completing the checkout process. E2E tests are vital for confirming the entire application works as one cohesive system.
The Final Reality Check: User Acceptance Testing (UAT)
After all the technical testing is done, there's one last, critical step: User Acceptance Testing (UAT). This is when you hand your nearly-finished app over to real, non-technical users. Their job isn't to find bugs in the code, but to confirm that the app actually meets their needs and is intuitive to use.
UAT is your last line of defense against usability issues. It answers the single most important question: "Does this thing actually solve the problem we wanted it to, in a way that makes sense to our customers?" The feedback from UAT is pure gold, allowing you to make those final polishes that turn an app from just functional into something truly great.
Launching Your App and Getting Noticed
You've made it through the development marathon, but the race isn't quite over. Now comes the exciting part: getting your app out of your local environment and into the hands of real users. This final push is a mix of technical deployment, navigating the maze of app store rules, and smart marketing to make sure all your hard work gets the attention it deserves.

It’s time to switch from a developer's mindset to a marketer's. You're entering a crowded space—mobile apps are projected to hit 255 billion downloads globally and pull in around $190 billion in revenue. With the average smartphone user in the U.S. juggling 39 different apps a month, just showing up isn't enough. You need a solid launch plan. If you want to dive deeper, these powerful mobile app statistics really paint a picture of the landscape.
Navigating the App Store Submission Process
Before a single person can download your app, you have to get it listed. Both Apple’s App Store and the Google Play Store have their own unique submission processes, and knowing the ropes beforehand can save you a world of headaches. This isn't just about uploading a file; it's about packaging and presenting your app to meet their standards.
First things first, you'll need developer accounts. That’s a $99 annual fee for Apple and a $25 one-time fee for Google Play. Once you’re in, it’s time to prepare your app’s listing page.
This includes:
- App Title & Subtitle: Keep them clear and descriptive. Weave in a few keywords people might actually search for.
- Description: This is your sales pitch. Get straight to the point: what does your app do, what problem does it solve, and who is it for? Use bolding and bullet points to make it easy to skim.
- Screenshots & Preview Videos: These are non-negotiable. High-quality visuals that show your app in action are often what seal the deal for a potential user.
Apple’s review process is famously meticulous and can take a few days. They scrutinize everything from quality and security to their own strict design guidelines. Google’s process is generally quicker, but both platforms will reject an app for bugs, missing information, or privacy policy issues. Be prepared for a little back-and-forth.
Mastering App Store Optimization
Getting your app in the store is only half the battle. Now, you need people to find it. That’s where App Store Optimization (ASO) comes into play. Think of it as SEO, but specifically for app stores. A smart ASO strategy can dramatically boost your app's visibility in search results, leading to more organic downloads.
Here’s what to focus on:
- Keyword Optimization: Do your homework. What terms would your ideal user type into the search bar? Sprinkle those keywords naturally throughout your app's title, subtitle, and description.
- Visuals That Pop: Your app icon, screenshots, and videos are the first things people see. They need to look professional and immediately communicate what your app is all about.
- Ratings and Reviews: Positive feedback is gold. It heavily influences your app’s ranking and builds trust with new users. Don't be shy about prompting happy users to leave a review.
A huge mistake I see people make is setting up their app store listing and then forgetting about it. ASO isn't a "set it and forget it" task. You have to keep monitoring your keyword performance, see what competitors are doing, and tweak your listing based on user feedback and new features you release.
Creating a Buzz with Smart Marketing
With your app officially live, it’s time to make some noise. Ideally, your marketing should have started before launch day to build up a little anticipation. Use social media to share behind-the-scenes glimpses, run a launch countdown, and start talking to potential users.
Once you’re live, focus your energy where your audience actually hangs out. If you’re a small operation, targeted content marketing strategies for small businesses can help you get seen without a massive budget. Paid ads on platforms like Instagram or Google can also work wonders, but always start small, test what works, and keep a close eye on your return.
At the end of the day, your best marketing asset is a fantastic product. Pay close attention to user feedback, squash bugs as soon as they appear, and never stop improving the experience. Happy users become your biggest advocates, and that kind of word-of-mouth growth is priceless.
Common Questions About Building a Business App
Diving into app development always kicks up a lot of questions. It's only natural. You're trying to figure out the real costs, how long it's all going to take, and what life looks like after you finally launch. Let's walk through some of the most common things people ask when they're learning how to create an app for their business.
How Much Does It Really Cost to Build a Business App?
Honestly, the price tag can be all over the map. For a straightforward app with a focused set of features, you might land somewhere in the $15,000 to $50,000 range. Think of something like a basic internal scheduling tool or a simple product catalog—useful, but not overly complex.
But what if you're picturing something more ambitious? An app with a beautiful custom UI, a powerful backend that can juggle a ton of data, and integrations with other software you already use? In that case, you're looking at a budget starting from $50,000 and easily climbing past $250,000. Every layer you add—like real-time chat, secure payment processing, or personalized user dashboards—pushes that number up.
Here's something people often forget: ongoing maintenance. A smart rule of thumb is to budget an extra 15-20% of your initial development cost every single year. This covers essential updates, bug squashing, and server fees. It's not just a cost; it's an investment in keeping your app secure and running smoothly for the long haul.
How Long Does the App Development Process Take?
Just like the cost, the timeline is tied directly to how complex your app is. If you start with a Minimum Viable Product (MVP)—just the absolute must-have features to get going—you can often get it designed, built, and out the door in 3 to 6 months. This is a fantastic way to test the waters and get real user feedback without a massive upfront commitment.
For a full-blown application with a completely custom design and a heavy-duty backend, the timeline will probably stretch from 6 to 12 months, and sometimes even longer for really intricate systems.
A typical project usually breaks down like this:
- Planning & Discovery: 1-2 months
- Design (UI/UX): 1-2 months
- Development (Coding): 3-6+ months
- Testing & Quality Assurance: 1 month
And remember, be ready for the unexpected. A change in scope, a tricky technical problem, or user feedback that sends you back to the drawing board can all add time. This is where clear, constant communication with your development team is worth its weight in gold.
Should I Build for iOS, Android, or Both?
This is a big one, and the right answer comes down to your customers and your budget. The very first thing you need to do is figure out who you're building this for. If your audience is mainly in markets like the US where iPhones are king, focusing on an iOS app first can be a really smart, targeted approach.
On the flip side, if you're aiming for a global reach or a more diverse user base, you can't ignore Android, which dominates the worldwide market share. Building two separate, native apps is the priciest and most time-intensive option, but it usually delivers the absolute best performance on each device.
For most businesses, though, a cross-platform approach using a responsive web framework like Next.js is the sweet spot. You get to build one app that works for everyone, right from day one. It keeps development costs in check while making sure no customer is left behind.
What Happens After My App Is Launched?
Getting your app into the store isn't the finish line—it's the starting pistol. The moment you launch, your focus has to pivot to monitoring, marketing, and maintenance. This is where you separate a good app from a great one.
You'll need to keep a close eye on performance analytics to see how people are actually using your app. Which features do they love? Where are they getting stuck? This data is pure gold for figuring out what to build next.
Speaking of which, you have to actively collect user reviews and feedback. This is how you'll build a roadmap for future updates. Regular updates aren't just for adding cool new features; they're critical for fixing bugs and staying compatible with the latest OS versions from Apple and Google.
And finally, you can't just build it and expect them to come. You need a real marketing plan to keep bringing in new users and keeping the ones you have. The work doesn't stop at launch; that’s when the real work of growing your business begins.
Ready to turn your business idea into a high-performance, scalable app? At 42 Coffee Cups, we specialize in Next.js and Python/Django development to bring your vision to life. Let's build your app together.