A Guide to Software Development Lifecycle Steps
Explore the essential software development lifecycle steps. This guide covers each phase from planning to maintenance with practical examples.

The software development lifecycle (SDLC) is essentially the master plan that teams follow to build great software. Think of it as a roadmap that takes a project from a rough idea all the way to a finished product that's out in the world and being looked after. The main stops on this journey are typically planning, designing, building, testing, deploying, and maintaining the application.
Understanding The Software Development Lifecycle
In software engineering, the Software Development Life Cycle (SDLC) is the core framework for producing high-quality systems that actually solve a customer's problem. It's a structured, methodical approach that ensures every part of the creation process is clearly defined, properly executed, and well-documented.
Without this kind of structure, projects can easily go off the rails. You see missed deadlines, budgets that spiral out of control, and—worst of all—a final product that doesn't do what anyone wanted it to do.
Following the SDLC steps brings some serious advantages to the table:
- Improved Quality: When you formalize processes for design, coding, and testing, you catch mistakes and bugs much earlier. This leads to a more stable and reliable product for your users.
- Enhanced Control: Project managers get a much clearer view of what's happening. This makes it easier to track progress, manage the team's time, and keep everything moving forward.
- Increased Predictability: A well-defined lifecycle helps you forecast timelines and budgets with more confidence. This means fewer nasty surprises for stakeholders.
The Core Phases Explained
At its heart, the SDLC is all about turning an abstract idea into a real, working piece of software. It tackles the massive job of creating software by breaking it down into smaller, more manageable stages. Each stage has its own specific goals and things to deliver, which helps the team focus on one piece of the puzzle at a time without losing sight of the big picture.
This infographic simplifies the SDLC into three major stages: planning, building, and launching.
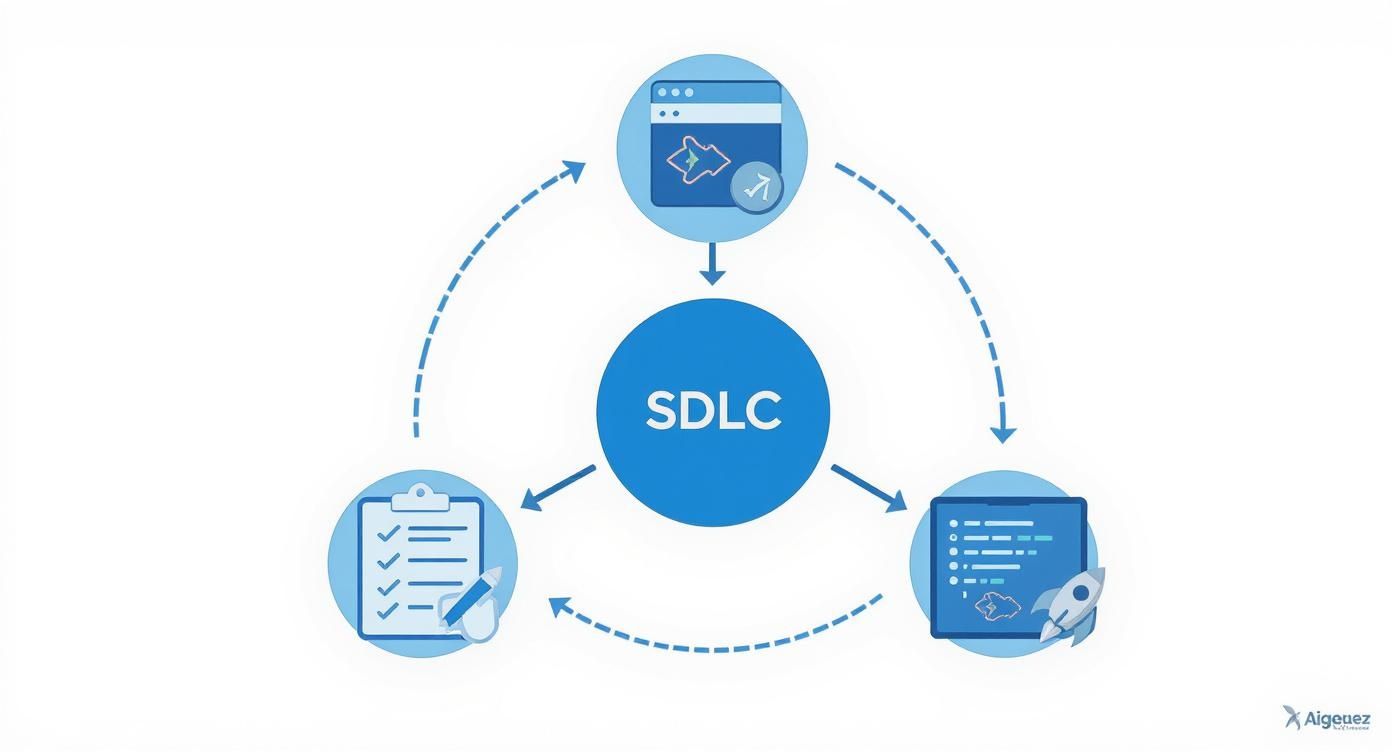
What this visual really nails is how the lifecycle isn't just a straight line—it’s a continuous loop. Once you launch a product, the feedback and learnings circle right back into planning for the next version.
For a more detailed look, here’s a quick-reference table that summarizes the primary goal and key activities for each of the core SDLC phases.
Quick Reference Guide to SDLC Steps
This table gives you a high-level overview of each step in the software development lifecycle, outlining what you're trying to achieve and what a team actually does during that phase.
| Phase | Primary Goal | Key Activities |
|---|---|---|
| 1. Planning | Define project scope and feasibility | Requirement gathering, resource allocation, cost estimation |
| 2. Design | Create the technical blueprint | System architecture, UI/UX design, database schema |
| 3. Development | Write the actual code | Coding, unit testing, version control |
| 4. Testing | Identify and fix defects | QA testing, bug tracking, performance validation |
| 5. Deployment | Release the software to users | Server setup, CI/CD pipeline, go-live |
| 6. Maintenance | Support and improve the software | Bug fixes, feature updates, performance monitoring |
This breakdown helps clarify how each distinct phase contributes to the overall goal of delivering a successful and sustainable software product. We'll dive deeper into each of these phases in the sections that follow.
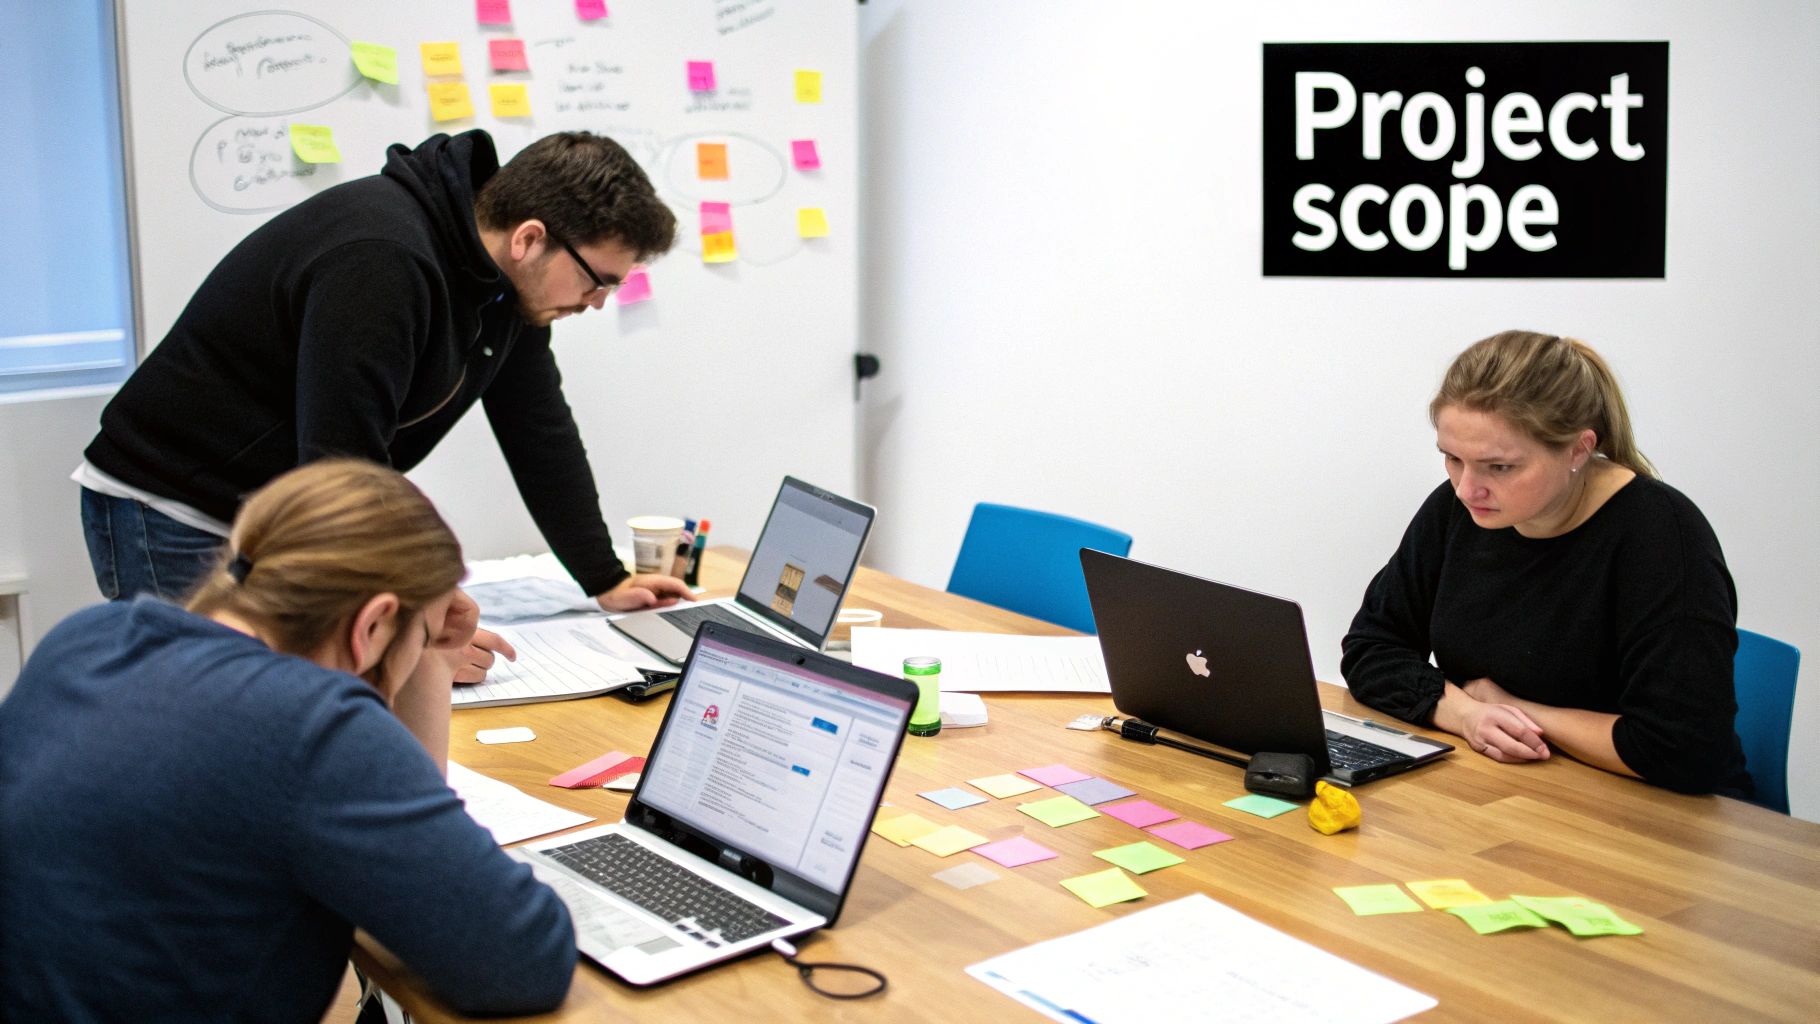
Step 1: Planning and Requirement Analysis
Think of this first step as laying the foundation for a house. If you get the foundation wrong, the entire structure is compromised. The planning and requirement analysis phase is precisely that—the bedrock of your whole project. This is where we figure out exactly what the software needs to do, who it's for, and why it's even being built.
Getting this stage right is absolutely critical. A shaky plan leads to a shaky product, no exceptions. The team's job here is to collect a mountain of information from everyone involved: clients, future users, market experts, and your own business analysts. We need to dig deep, understand the core business problems, and start translating those needs into concrete software requirements.
Key Activities in This Phase
To move from a vague idea to a clear plan, you need to tackle a few essential activities. Skipping these is like trying to build that house without a blueprint.
- Stakeholder Interviews: This means actually talking to the people who will use, buy, or benefit from the software. What are their biggest headaches? What does success look like to them?
- Market Analysis: You're not building in a vacuum. It's crucial to look at what competitors are doing and where the market is headed. This helps you find your unique angle and avoid building something that's already obsolete.
- Feasibility Study: Can this actually be done? This study looks at the project from three angles: is it technically possible, does it make financial sense, and can it work within the current operational setup?
All this work funnels into creating a Software Requirement Specification (SRS) document. This isn't just paperwork; it’s the master plan. It details every single functional and non-functional requirement and acts as the single source of truth for the entire project.
This whole process of digging for details is often called the discovery phase. You can learn more about the importance of a thorough project discovery phase in our detailed guide.
Avoiding Common Pitfalls
One of the most notorious problems at this stage is scope creep. This is when new features and requests start piling up after the plan is set, stretching your timeline and budget thin.
Another huge risk is settling for vague requirements. A request for a "user-friendly interface" sounds great, but it means nothing without specifics. What does "user-friendly" actually look like? How do you measure it? A solid SRS is your best defense against both scope creep and ambiguity, making sure everyone agrees on the specifics before a single line of code is written.
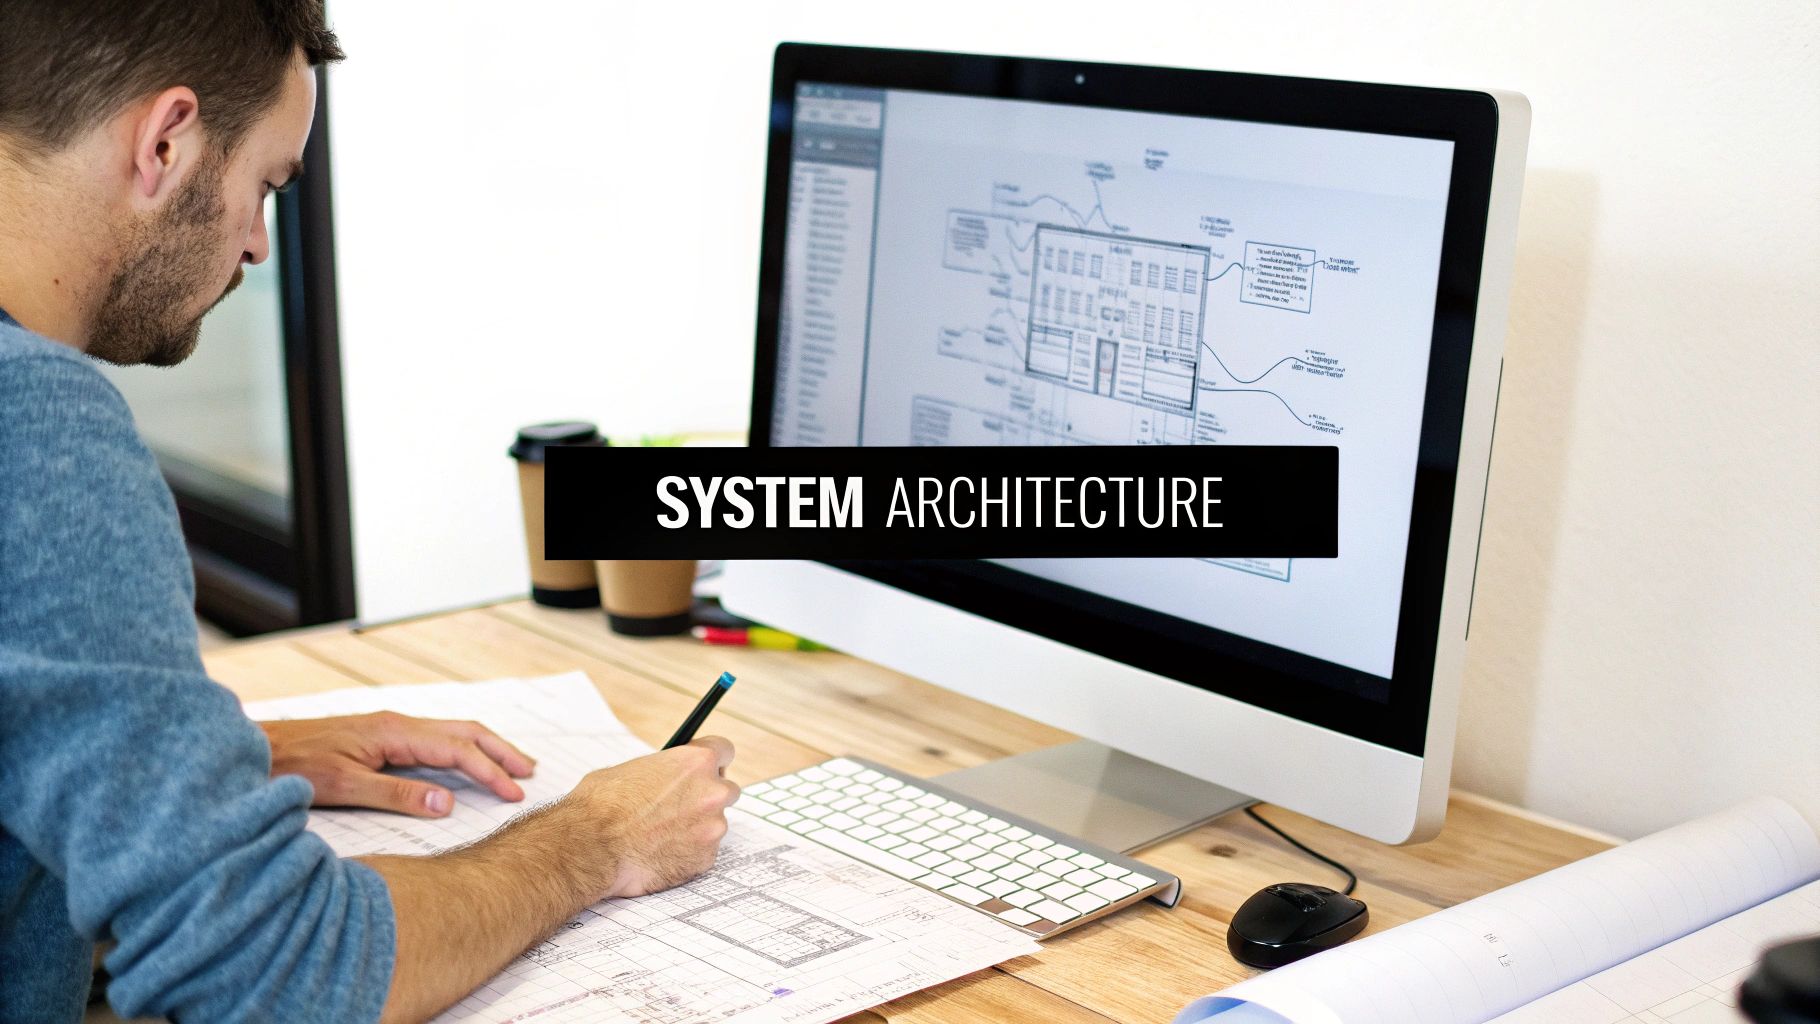
Step 2: Designing the System Architecture
Okay, so you’ve figured out what the software needs to do. Now comes the fun part: figuring out how it's going to do it. This is the design phase, and it’s where we translate all those requirements into a concrete technical blueprint. A solid blueprint is essential—it gets the entire development team on the same page, building toward a single, cohesive system.
In practice, we usually break the design process into two distinct parts: High-Level Design (HLD) and Low-Level Design (LLD). Think of it like building a house. The HLD is the architect's overall sketch showing the layout of the rooms and how they all fit together. The LLD, then, is the detailed plan for each room, right down to where the outlets and pipes go.
High-Level vs. Low-Level Design
High-Level Design (HLD) is all about the big picture—the system's overall architecture. It defines the main components and how they'll talk to each other, but it doesn't get bogged down in the tiny details of how each piece works internally.
- Objective: The goal here is to map out the complete system structure and the flow of data.
- Key Activities: This is where you'll make crucial decisions, like choosing your technology stack (languages, frameworks), designing the database schema, and picking an architectural pattern.
This is also the stage where you'll make fundamental structural choices. For a deep dive into one of the most common decisions, check out our comparison of microservices vs. monolithic architecture in our guide.
Low-Level Design (LLD), as the name suggests, zooms in on the individual components you identified in the HLD. It gets into the weeds, detailing the internal logic of every module—things like classes, specific methods, and the data structures they'll use. The LLD is the nitty-gritty that programmers need before they can actually start writing code. It serves as their direct guide for implementing each feature.
Core Design Principles to Follow
A good design is more than just a plan; it’s a strategy for the future. By sticking to a few time-tested principles, you can ensure the final product isn't just functional, but also resilient, easy to maintain, and ready for whatever comes next.
Here are a few non-negotiables:
- Scalability: The system has to be able to grow. Your design needs to handle more users, more data, and more traffic without needing a complete rewrite down the line.
- Modularity: It's always a good idea to break the system into smaller, independent parts. This makes development, testing, and maintenance so much easier because you can work on one component without breaking another.
- Security: This has to be baked in from the very beginning, not bolted on as an afterthought. A secure architecture is your first line of defense against potential threats.
Getting the design phase right is critical. It clears up ambiguity, prevents expensive mistakes later on, and gives the development team a clear path forward.
Step 3: Building the Software Through Coding
With a solid design blueprint approved, we roll up our sleeves and get to the implementation phase. This is where the magic happens—developers take the architectural plans and start writing the actual code that brings the software to life. It's often the longest and most demanding part of the SDLC, turning abstract concepts into a working product.
Of course, developers aren't just typing away in a vacuum. They rely on a whole ecosystem of tools to stay organized and efficient. Modern Integrated Development Environments (IDEs) offer features like code completion and built-in debuggers, while version control systems like Git are absolutely essential for managing code changes and letting multiple developers collaborate without stepping on each other's toes.
Essential Practices for Quality Code
To keep the codebase clean and the project on schedule, teams lean heavily on established coding guidelines. These standards cover everything from formatting and naming conventions to language-specific best practices. Following these rules ensures the code is readable, consistent, and much easier to maintain down the road.
Peer reviews are another non-negotiable part of this process. Getting a second set of eyes on the code is invaluable. Practices like security code reviews help spot potential vulnerabilities and logic flaws early on, before they can escalate into bigger, more expensive problems. This isn't just about catching mistakes; it's also a great way for team members to share knowledge and learn from each other.
Following standardized practices and conducting thorough reviews are non-negotiable for building robust and secure software. These activities act as the first line of defense against technical debt and future maintenance headaches.
The Rise of Low-Code and No-Code Platforms
The traditional coding landscape is getting a major shake-up thanks to the rise of low-code and no-code platforms. These tools provide visual, drag-and-drop interfaces that allow people to build applications with minimal (or zero) manual coding.
The screenshot above gives you a good idea of what a low-code platform looks like. Instead of writing lines of code, you can assemble an application using pre-built components and logic blocks. This approach makes development faster and opens the door for business users and citizen developers to create their own solutions.
This isn't just a passing fad; it’s a significant shift in how we think about software creation. Industry projections estimate that by 2025, low-code and no-code platforms will account for up to 70% of new business applications. This trend is making development more accessible to everyone, empowering more people to build the tools they need. You can find more details about how these platforms are reshaping the industry by reading about emerging software development trends.
Step 4: Ensuring Quality Through Rigorous Testing
Once the development team has a working version of the software, it's time for the testing phase. This is arguably one of the most crucial steps in the entire lifecycle. Its purpose is straightforward but vital: to find and fix any defects, bugs, or performance bottlenecks before the product ever gets into the hands of a user.
The core goal here is simple: ensure the software works exactly as intended and ticks every box in the requirements document. This responsibility falls to the Quality Assurance (QA) team. These specialists are tasked with trying to break the software in every conceivable way, developing a solid testing strategy that covers everything from the tiniest code snippet to the system as a whole. Without this methodical check, you're just gambling on releasing a product that could be unreliable, insecure, or just plain frustrating to use.
The Different Layers of Software Testing
Good testing isn't a single action; it's a process with multiple layers. Each layer zooms in on a different part of the software, making sure every component is put through its paces. A well-rounded testing plan will almost always include these distinct types of validation.
- Unit Testing: This is testing at its most basic level. Developers check individual pieces of their code—like a single function or component—to make sure each one works correctly on its own.
- Integration Testing: After the individual units pass their tests, they're grouped together. Integration testing is all about making sure these combined modules play nicely with each other without causing unexpected problems.
- System Testing: At this stage, the fully assembled software is tested from end to end. The QA team confirms that the complete system meets all the functional and non-functional requirements laid out in the SRS document.
- User Acceptance Testing (UAT): This is the final exam. Real end-users or clients get their hands on the software to see if it meets their needs and is truly ready for a live environment.
The Role of Test Automation in Modern Development
In the past, testing was a slow, manual grind. But as software became more and more complex, the time and cost of manual testing ballooned. This reality opened the door for test automation, which involves using special tools to run tests, check the results against what was expected, and generate reports automatically.
Growing software complexity has driven up the cost of this once-manual phase by as much as 26%. Thankfully, test automation has proven its worth by helping to cut those costs by around 20%. You can find more data on how automation influences development costs on LoopStudio.
By handing off the repetitive and time-intensive tests to automation, QA teams can free themselves up to focus on more creative and complex exploratory testing. This approach doesn't just accelerate the testing cycle; it also expands test coverage, which ultimately leads to a better product delivered faster.
Step 5: Deploying and Maintaining the Software

Once testing gives the green light, it's time for deployment. This is the moment of truth—when your software goes live and reaches the hands of its first users. But getting there is a lot more involved than just clicking a button. Modern deployment is a carefully planned process built to deliver new features and fixes smoothly, without causing chaos for your users.
The goal is always to reduce risk. Instead of one big, all-or-nothing launch, savvy teams use rollout strategies that let them ease into a release. This gives them a chance to make sure everything is working perfectly before the entire user base is on the new version.
Modern Deployment Strategies
A flawless launch is everything when it comes to keeping users happy. Two of the most popular and effective strategies for minimizing risk and avoiding downtime are blue-green and canary deployments. They both offer a smart way to transition from the old version to the new one.
-
Blue-Green Deployment: Imagine having two identical production environments, one called "Blue" and the other "Green." While your users are on the live Blue environment, you can deploy the new software version to the Green one. Once it's fully tested there, you simply switch the traffic over. The new version becomes live, and the old one is now on standby, ready to be switched back to instantly if anything goes wrong.
-
Canary Release: This approach is a bit like testing the waters. The new version is first released to a very small group of users—your "canaries." The team keeps a close eye on performance metrics and user feedback. If all systems are go, the release is gradually rolled out to more and more users until everyone has it. This way, any potential problems only affect a tiny fraction of your audience.
What makes these advanced strategies possible is a solid CI/CD (Continuous Integration/Continuous Deployment) pipeline. By automating the build, test, and release steps, you create a reliable, repeatable workflow that’s absolutely essential for shipping updates frequently and without drama. If you want to get into the weeds, there are some great guides covering modern software deployment best practices.
The Ongoing Maintenance Phase
The job isn't done once the software is launched. Far from it. The maintenance phase is a long-term commitment that keeps the software secure, stable, and valuable for years to come. This ongoing work is what ensures user satisfaction and gives your product real staying power.
It's easy to forget, but maintenance often makes up the largest chunk of a software's total lifetime cost. It’s not just about squashing bugs—it’s about helping the product evolve with the world around it.
This phase really boils down to three key activities:
- Bug Fixes: Hunting down and resolving defects that pop up after the release, often based on user reports.
- Environment Adaptation: Keeping the software up-to-date so it works with new operating systems, web browsers, or other services it depends on.
- Feature Enhancements: Adding new capabilities and improving existing ones based on what users are asking for and where the business is headed.
Choosing the Right SDLC Model
While the fundamental software development lifecycle steps don't change, the way you move through them can make or break a project. The methodology you pick shapes everything from team dynamics to how you handle unexpected curveballs. Getting this decision right from the start is crucial for setting the whole project up for success.
The two best-known models are Waterfall and Agile. Each one offers a completely different way to approach the SDLC phases, and they're built for very different kinds of projects.
Waterfall: A Linear Path
The Waterfall model is the classic, old-school approach. You can picture it as a literal waterfall—each phase flows down into the next, and you can't go back up. You have to complete all the planning before you start the design, finish all the design before you write a single line of code, and so on.
This rigid structure brings a ton of predictability and control. It's a great fit for projects where the requirements are set in stone and aren't expected to change. If you know exactly what you need to build from day one, Waterfall’s step-by-step process ensures everything is meticulously documented and signed off on.
Agile: An Iterative Cycle
On the other hand, the Agile model is all about flexibility and iteration. Instead of tackling the entire project in one go, Agile breaks it down into small, repeatable cycles called sprints. In each sprint, the team runs through a mini-SDLC—planning, designing, building, and testing—to create a small, working piece of the final product.
This structure is built for change. It allows teams to get feedback early and often, making it easy to adjust to new requirements as they come up. It's no surprise that Agile has become so popular, with around 71% of companies now using it. By repeating the SDLC steps in small bursts, you can spot risks sooner and make sure what you’re building is what users actually want. You can find more details in these software development trends from LoopStudio.
To really see the difference and figure out which approach might work for you, a side-by-side comparison is the best way to go.
Agile vs Waterfall Methodology Comparison
The table below breaks down the core differences between the Agile and Waterfall models, helping you visualize how each one handles key aspects of a project.
| Attribute | Agile Model | Waterfall Model |
|---|---|---|
| Flexibility | High; changes are welcome | Low; changes are difficult |
| Customer Involvement | Continuous and collaborative | Limited to initial stages |
| Risk Management | Early and frequent | Late; risks are found in testing |
| Delivery | Incremental, frequent releases | Single, final delivery |
Ultimately, Agile thrives on uncertainty and collaboration, making it ideal for fast-moving projects. Waterfall excels when requirements are fixed and a predictable, documented process is the top priority.
Frequently Asked Questions About the SDLC
When you're working through the software development lifecycle, a lot of questions tend to pop up. Getting your head around these details is what helps teams actually use the framework well and see better results.
What Is the Most Critical SDLC Phase?
You'll hear different opinions, but most seasoned pros will tell you the planning and requirement analysis phase is the one you absolutely cannot mess up. If you build on a weak foundation here, you’re setting yourself up for a world of pain later.
Think of it this way: getting the requirements wrong from the beginning almost always leads to scope creep, blown budgets, and a final product that just doesn't solve the user's problem. Nailing down what you're building at the very start is probably the single most important thing you can do for a project's success.
How Do You Choose the Best SDLC Model?
The right model really comes down to the specifics of your project. There's no one-size-fits-all answer when comparing approaches like Agile and Waterfall.
-
Waterfall: This model is a great fit for projects where the requirements are set in stone and aren't expected to change. If you know exactly what you need to build from day one, Waterfall provides a clear, linear path forward.
-
Agile: On the other hand, if you expect requirements to shift or you need to incorporate user feedback along the way, Agile is your best bet. Its iterative nature is built for flexibility and lets you adapt on the fly.
The trick is to honestly evaluate your project's stability. How likely are things to change? If the answer is "very likely," go with Agile. If you're dealing with a highly predictable project, the structure of Waterfall can be a huge advantage.
Where Does DevOps Fit into the SDLC?
DevOps isn't another step in the lifecycle; it's more of a philosophy that wraps around the whole thing. It's all about breaking down the walls between your development (Dev) and operations (Ops) teams to improve how you build, test, and release software.
By automating the pipeline and getting everyone to collaborate, DevOps makes the entire process faster and more reliable. It touches on nearly every phase but has the biggest impact on testing, deployment, and ongoing maintenance.
Ready to accelerate your development and launch a high-performance web application? The team at 42 Coffee Cups specializes in Next.js and Python/Django development, helping startups and enterprises deliver exceptional products faster. Learn how we can reduce your costs and deliver an MVP in under 90 days.